There are 2 ways to edit the satellite list of Satellite Director or Satellite Locator:
with the app
with the help of an editor on your phone or home computer.
Both ways are in the video on Youtube http://www.youtube.com/embed/h2TkZrDWDaw .
Ad by Google.
File location
By default the app will always use the build-in list unless it finds a file named satellite_list.xml .
The file is then located in:
- [internal]/Android/data/zekitez.com,satellitedirector/files/ or
- [internal]/Android/data/zekitez.com.satelliteestimator/files/ .
Preparation:
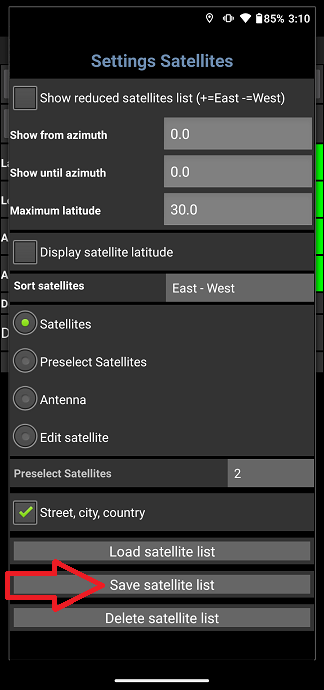
ALL, FIRST save the build-in list to a file (see screenshot) :
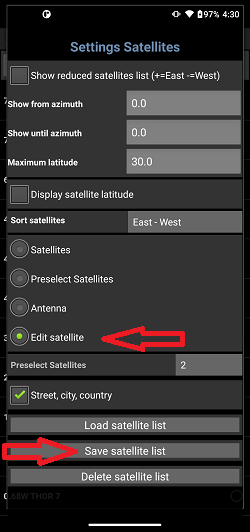
Via the menu of the app go to the "Settings" and then "Satellites".
In the "Settings Satellites" window push button "Save satellite list". The list is now available for editing.
Preparation is not needed when you use the app for editing. You can skip the previous step.
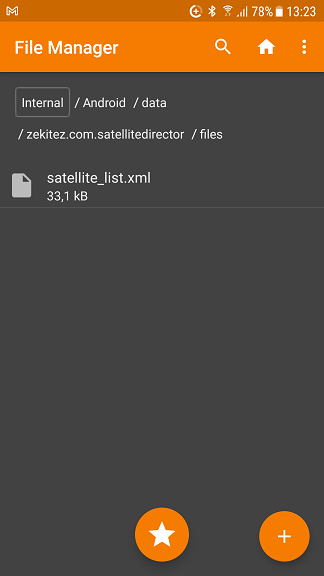
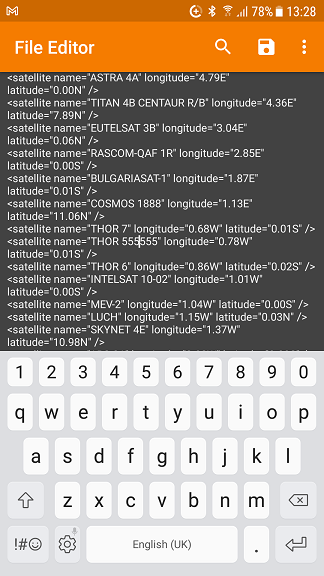
If you want to edit the file on the phone you need a text editor or a File Manager (see screenshot) with build-in File Editor (see screenshot).
There are free versions in Google Play but many are poisoned with ads. I have installed, without that poison, Simple File manager.
If you want to edit the file on a Windows home computer you need an editor like Wordpad or Notepad++. MacOs and Linux have perfect text editors.
Editing
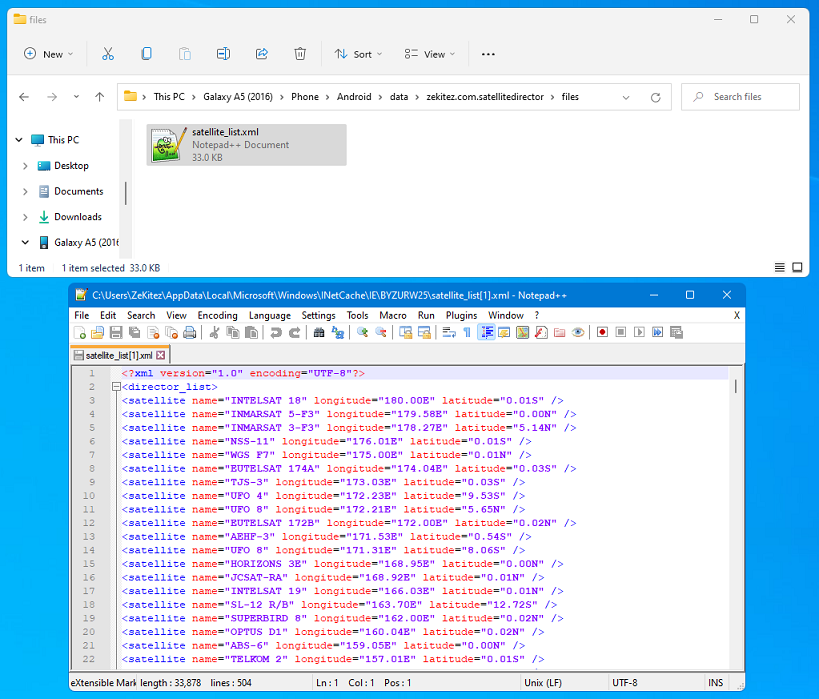
Home computer: Android does not allow file editing while the file is on the phone. This applies at least to Windows.
Copy the file from the phone to your computer, edit the file on the computer and then copy it back to the phone. Warning: Windows (notepad) is famous for adding extra control characters which Android can't stand.
In that case you may not see any satellite of your editted list in the app. This problem is solved by deleting that satellite list file and use another editor.
Delete it with the app or directly with the home computer.
You can add or delete as many satellites or antennas as you wish.
The only limit is your phone and what is comfortable for you to handle.
You could uses a prefix or postfix in the name to seperate the satellites from the antennas.
The easy way is with help of an editor on the phone or home computer.
Just open the (home computer: copied) file at its location, see above, with the file manager or the text editor.
Syntax of file satellite_list.xml:
the key word "satellite" is used for satellites.
the key word "antenna" is used for antennas.
the key word "name" is used for the name of the satellite or antenna. The name is within double quotes.
longitude: is a number from 0.00 to 180.00 where the postfix letter E is used for East and W for West. The number with postfix is always between double quotes.
latitude: is a number between 0.00 to 90.00 where the postfix letter N is used for North and S for South. The number with postfix is always between double quotes.
If you do not know the latitude of the satellite then use 0.00N or 0.00S.
DO NOT CHANGE this syntax !!
Replacing double quotes with single quotes WILL NOT WORK.
Changing key words WILL NOT WORK.
DO NOT DELETE or CHANGE the first 2 lines or the last line of the file.
I do not know what will happen when you start mixing languages within the file (example: using english and chinese characters for the names).
The safest way is to edit the satellites with the app.
Via the menu of the app go to the "Settings" and then "Satellites".
In the "Settings Satellites" window select radio button "Edit satellite" to enter the edit mode
Leave the "Settings Satellites" window
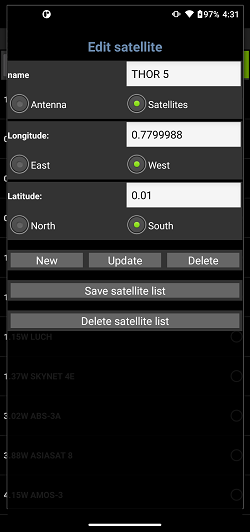
Select the satellite you wish to edit or any satellite if you wish to add a new satellite.
. In the "Edit satellite" window you can change the name, type satellite or antenna, longitude in degrees and East or West, latitude in degrees and North or South
. In the "Edit satellite" windows push button: "New" to add the data as a new satellite or
. In the "Edit satellite" windows push button: "Update" to update the selected satellite with the changed data or
. In the "Edit satellite" windows push button: "Delete" to delete the selected satellite.
. Optional: save or delete the changed satellite list during editing. Not saved is the changed data in the "Edit satellite" window (button "New", "Update" or "Delete" is not pushed yet).
Repeat this step as often as you wish until you are finished
Via the menu of the app go to the "Settings" and then "Satellites".
In the "Settings Satellites" window select radio button "Satellites" to leave the edit mode and enter the normal mode.
Do NOT forget to SAVE the list by pushing button "Save satellite list"
 Editing the satellite list